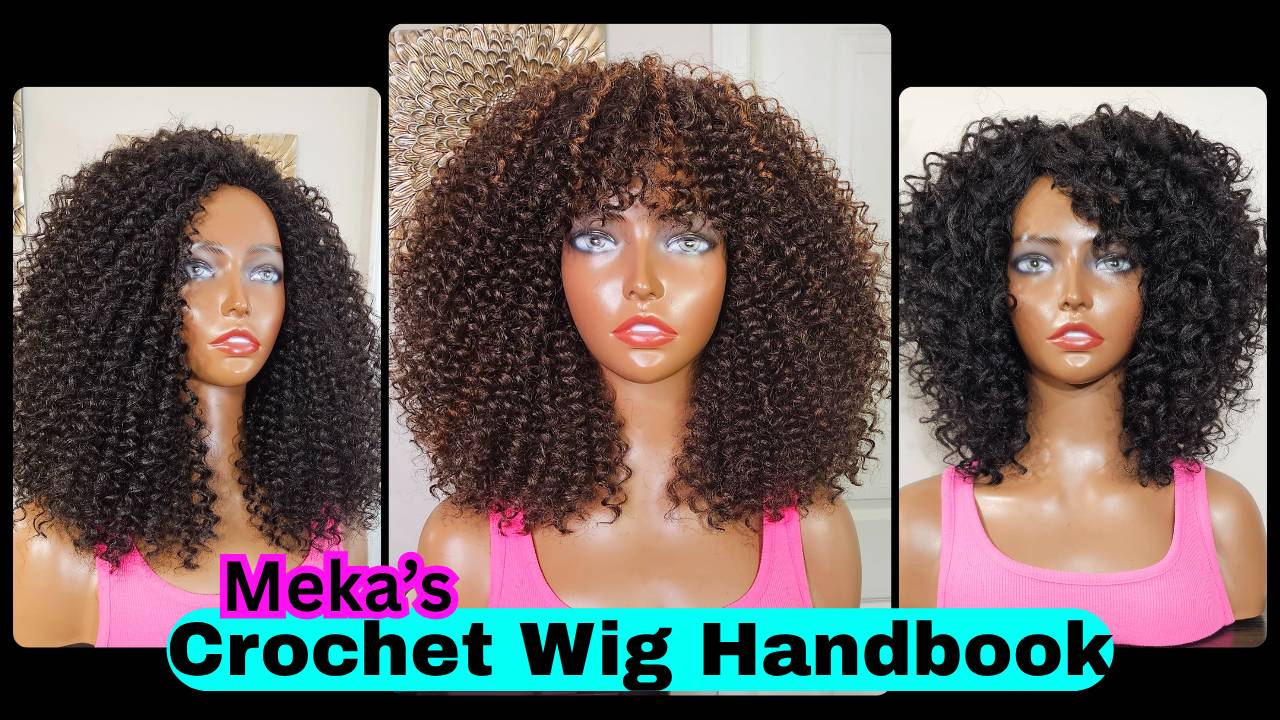
How to Make a V Part Wig with Your Favorite Bundles
Hey there! Welcome!
In this course, I’m going to walk you step by step through how to create both V-part and U-part wigs using bundles.
You’ll learn everything you need to know to make a custom wig that fits beautifully, has a clean, professional look, and will last for years to come.
By the end, you’ll feel confident making these wigs for yourself, your family, your friends, or even your clients.
Supplies You Will Need
First things first, let’s get your supplies ready.
You’re going to need:
- Your mesh dome cap.
- Your bundles—make sure they’re clean and ready to use.
- A wig block.
- Stick pins to secure your cap to the block.
- A curved needle and nylon thread
- Scissors.
- Combs you’ll sew into the wig later.
Secure Wig Cap to Wig Block
Take your stick pins and attach your wig cap to your wig block. You’ll want to make sure the cap is pulled down smooth and tight, and that it’s nice and secure so it doesn’t move while you work.
I like to use three pins in the front, three in the back, and then pins on each side. When you place your pins on the sides, make sure they’re in the same spot on both sides. That way, when you start sewing, you have a clear guide so your wefts are even.
Why I Don’t Recommend Marking Your Cap
I know you’ve probably seen people take a marker or chalk and draw lines all over the cap to plan where they’ll lay the wefts. I don’t recommend doing that, and here’s why:
While you’re making the wig, you may realize you don’t have enough hair and need to space the wefts out more. You might end up needing to remove wefts or adjust your placement as you go.
If you’ve drawn lines all over your cap, you’re going to end up with marks you don’t want. You truly don’t know exactly where each track will go until you start.
Instead, I suggest using your stick pins to mark your guides as you work. Once you lay down one track, you’ll automatically see where the next one needs to go.
Choosing Your Part Placement
Whenever you’re making a V-part or U-part wig, always make the wig as if you’re creating a middle part, even if you know you want a left or right.
This is going to make sure your wig is balanced and has the same amount of hair on each side. It also gives you the flexibility to change your part in the future if you want to switch things up.
Before you even start sewing the V or U, know exactly how much leave-out you want.
That will determine how big or narrow you need to make your V or U shape.
If you want minimal leave-out, keep the opening very narrow.
If you want to be sure, you can take a measuring tape, place it on your head, and measure how much leave-out you prefer. Then, use that measurement to space your opening accurately on the cap.
Working with Bundle Lengths
Say you have 16”, 14”, and 12” bundles, start with your longest length first.
If you want the wig to be long overall, you’ll want to place those longest wefts at the bottom and work your way up with the shorter lengths.
Attaching the Thread
Before you start stitching any wefts, you want to attach your thread to the wig cap.
Take your needle, push it through the cap, pull it back up, and then go through the little circle you’ve made to secure the thread.
I do this every time I start a new thread. It helps keep everything locked in place and ensures your wig doesn’t unravel later.
Sewing Your First Weft
For the very first weft, you’ll sew it along the elastic band of the cap with. You don’t want to pierce through the elastic itself.
Instead, just stitch through the top material. This helps keep the cap’s stretch and makes sure the wig can still fit comfortably.
I like to place my stitches nice and close together. Just close enough so that when you comb or brush the wig, it won’t snag or lift.
Sewing From Side to Side
Whenever you’re installing bundles, you want to work from ear to ear.
Start on one side (whichever side you’re most comfortable) and then stitch all the way across to the other side.
Make sure that wherever you stop on one side, you stop at the matching point on the opposite side. That’s going to help you use the same amount of hair on both sides and keep the wig nice and even.
How to Secure Your Wefts
Each time you start a new weft, place it on the cap and begin stitching about an inch from the end. Stitch all the way to the end, then stitch back over it to secure it fully before continuing along the weft.
When you’re about to run out of thread, stitch back a few times, then forward, and loop under the thread you’ve attached to the cap. I like to do this several times (sometimes four or five times) to make sure nothing unravels.
Once you’ve done that, cut your thread, tie a knot at least twice, and then you’re ready to start with your next needle and thread.
Folding and Cutting Wefts
As you move up the wig, you’ll be folding your wefts over each time you reach the edge.
Just fold the weft over without pulling it too tight, this helps avoid bulk.
Once you get closer to the front or the crown area, you may want to start cutting the wefts instead of folding them so it doesn’t get lumpy or feel uncomfortable. Don’t forget to secure the ends of your wefts.
Dealing with Short Weft Pieces
If your bundles have been used before and you have smaller pieces, that’s okay.
Just make sure to secure the ends carefully by stitching through the very end of the weft and attaching it to the cap.
Avoid going through big chunks of the cap because that can make the wig smaller overall.
Creating Your Part (V or U)
Remember, before you even start sewing, know exactly how much leave-out you want.
That will determine how big or narrow you need to make your V or U shape.
If you want minimal leave-out, keep the opening very narrow.
If you want to be sure, you can take a measuring tape, place it on your head, and measure how much leave-out you prefer. Then, use that measurement to space your opening accurately on the cap.
Whenever you are making a V-part wig, you will need to cut one weft piece in half to create two separate pieces. You’ll stitch each piece down at an angle to form your V shape.
If you’re making a U-part wig, you don’t need to cut your wefts. You can just sew the hair straight across in a U shape without splitting the weft.
Final Steps: Trimming the Cap and Adding Combs
Once all your wefts are sewn and you’re happy with the density, it’s time to trim the extra cap.
Use small scissors (manicure scissors work great) and carefully cut away the excess. Be sure not to cut your stitches.
After trimming, you’ll sew in your combs. I prefer the combs you can slide in, rather than the snap-lock ones.
Sew two combs on each side of your V or U. To attach them, secure the thread to the cap, start in the middle of the comb, stitch to the end, stitch back, and then finish sewing the rest of the comb.
If you want extra combs on the sides or back, you’ll attach them the same way.
All Done!
That’s it, your wig is done!
I added a few curls and combed out with my figures.
I’m here if you need help!
If you have any questions, please leave them below in the comments or message me privately. I’m always here to help.
Have fun, keep practicing, take your time and don’t stress! Every wig you make will get better and better.
If you would like to have a custom wig, click here to learn how to start your order.